cardboard wand tutorial easy diy prop with hot glue gem tip on wooden craft table

Cardboard Wand Tutorial – Step-by-Step Easy DIY Prop Guide

cardboard wand tutorial easy diy prop with hot glue gem tip on wooden craft table

This cardboard wand tutorial started as a small weekend idea. I wanted something that looked like a real costume piece but didn’t need fancy tools or expensive materials. What I like about it most is how fast it comes together β€” the kind of project you can finish while your favorite movie plays in the background.

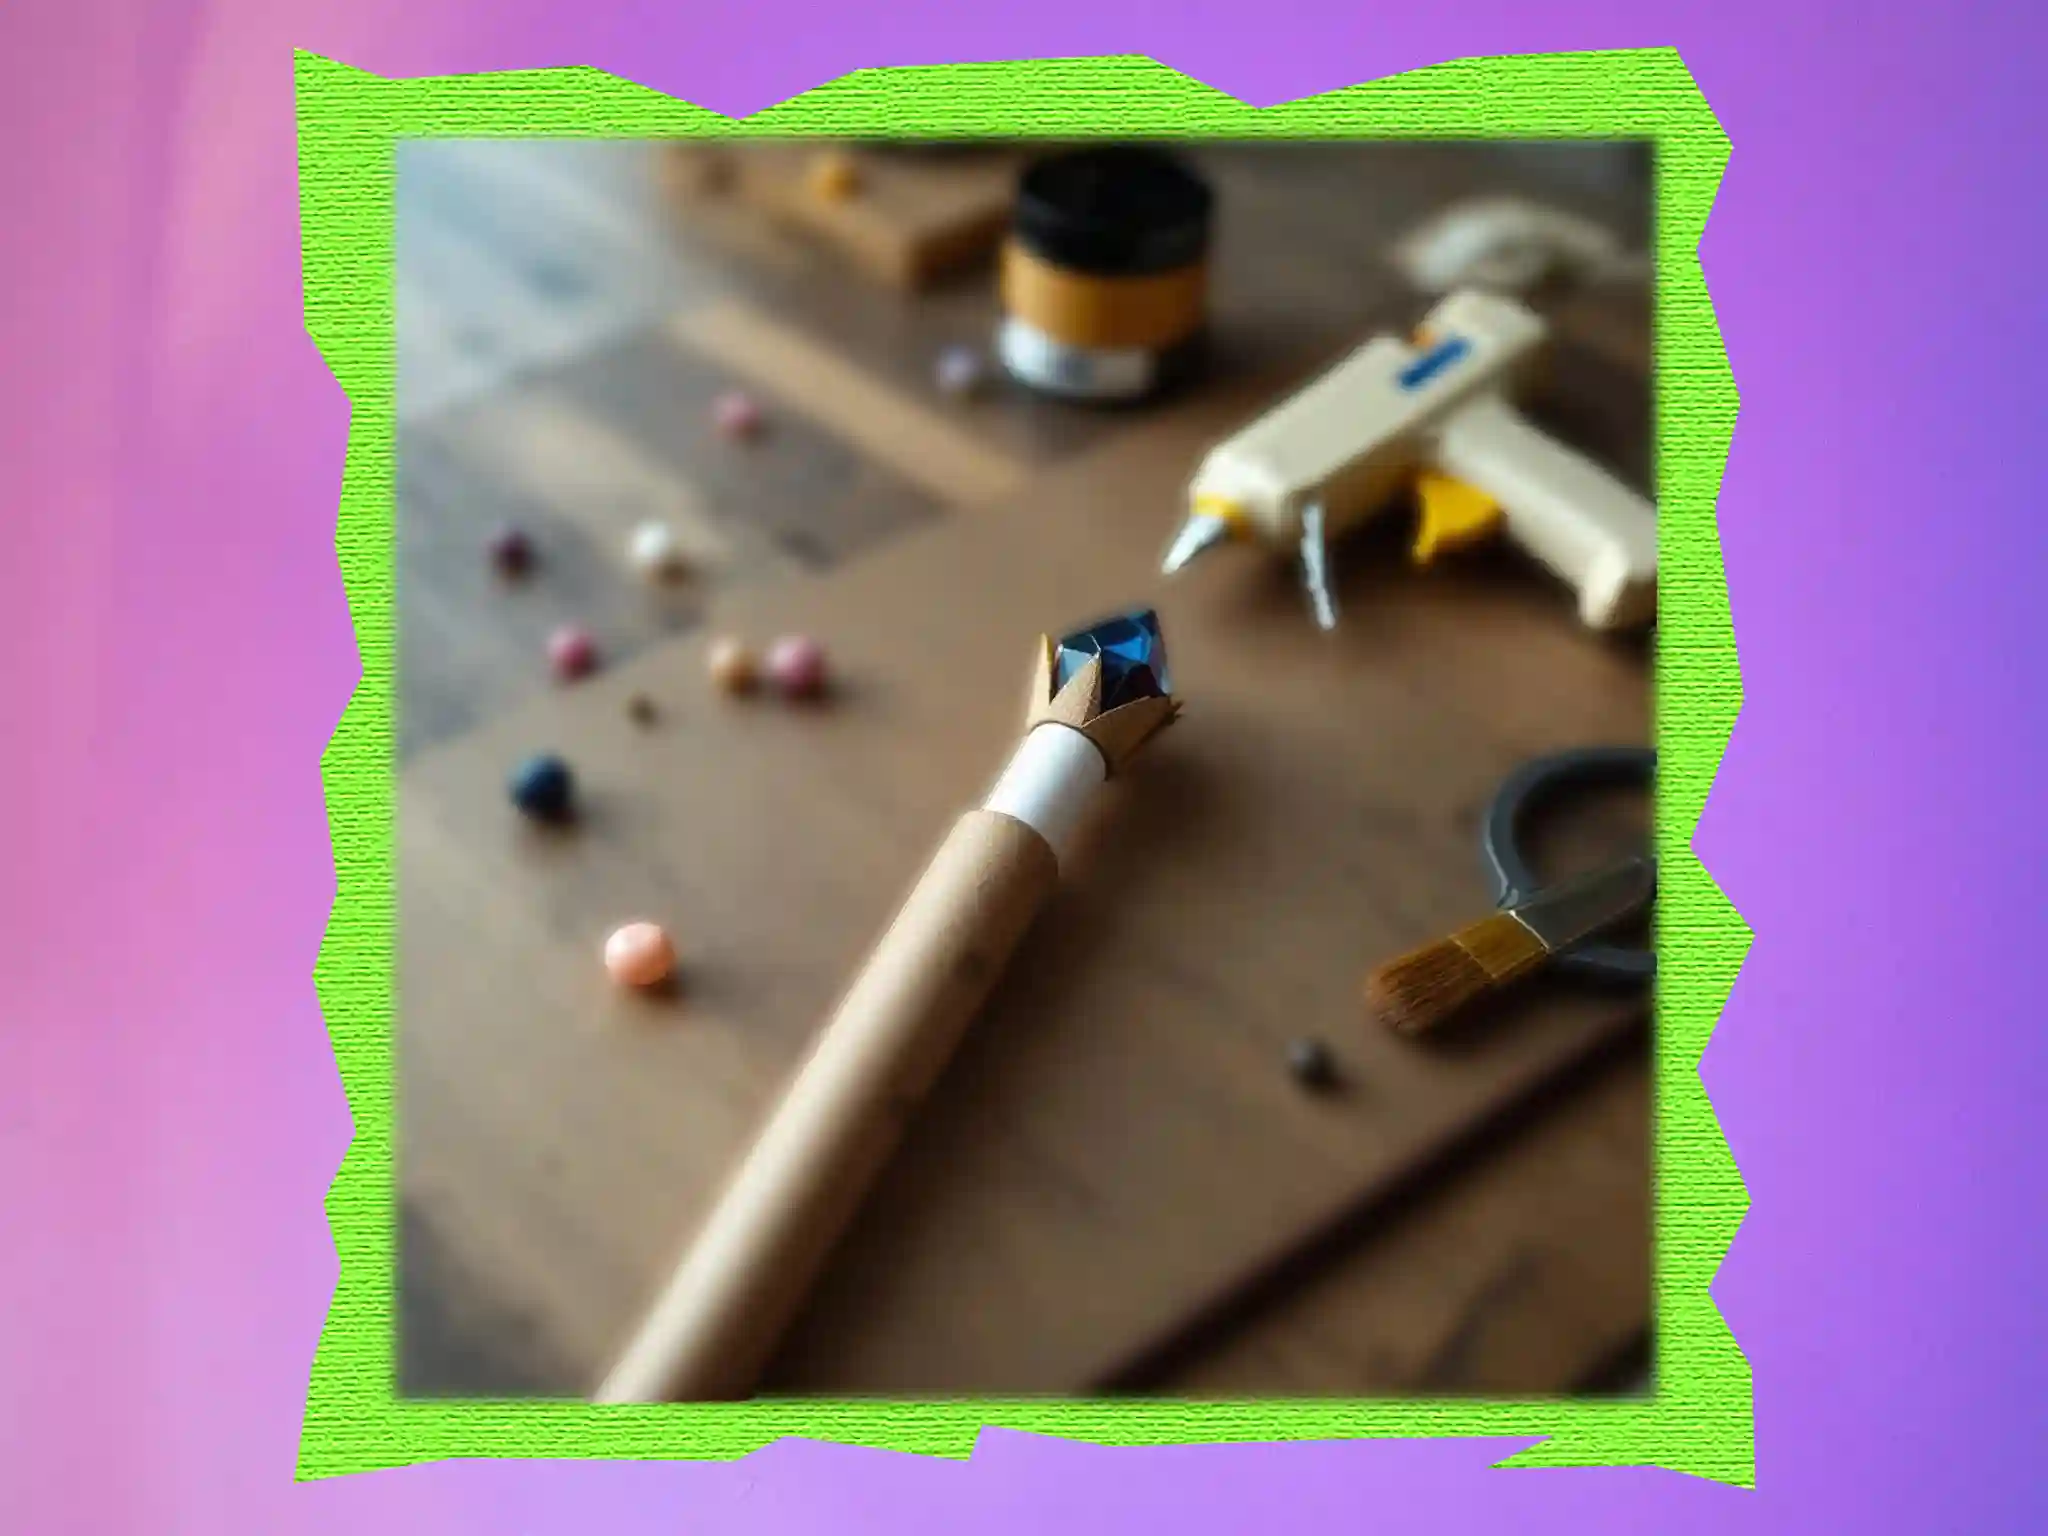
I used only cardboard, glue, and one small gem. The result was light enough to carry around all night, but sturdy enough to look like a real prop on camera.

Here’s exactly how I made it:

How to Dress like Nandor?

1 Form the cardboard tube

I cut a rectangular piece of thin cardboard and rolled it diagonally to get that elegant, tapered wand shape. After testing the thickness in my hand, I glued the edge with a thin line of hot glue. Once it cooled, it felt solid but still light β€” perfect balance.

2 Make the gem holder

For the top section, I cut thin strips of gold paper and wrapped them near the tip, folding small triangles so they formed a crown-like base. This frame keeps the gem in place and gives the top a more finished, crafted look.

3 Attach the gem

I used a deep-blue decorative gem from my old craft box β€” one drop of hot glue and it stuck perfectly. When light hits it, the shine is surprisingly realistic; the reflection gives the wand a little bit of life.

4 Smooth the surface

I sealed the whole surface with a thin layer of matte varnish so it wouldn’t bend. If you prefer a slightly aged look, brushing a light mix of beige and brown acrylic paint over the edges works great.

composite photo showing the second cardboard wand with blue gem replacing the original wand on a diy craft table
woman disguised as a witch holding a flaming torch during halloween night

Final Notes

All the materials stayed consistent β€” cardboard, paper, glue, and a gem. Nothing complicated, nothing messy. It dried in minutes and felt ready to use almost immediately.

What makes this project fun is how flexible it is. You can swap gem colors for different themes, or wrap the handle with a bit of old fabric or thread to give it a custom texture. Every small change makes it feel personal.

It’s the kind of DIY that fits right into last-minute prep β€” quick to make, easy to carry, and perfect for fantasy shoots, parties, or creative displays.

This cardboard wand tutorial is a reminder that even the smallest props can spark imagination.

My Secret Hacks

If you try making your own version of this wand, I’d love to hear how it turned out. Maybe you added new textures, painted it differently, or gave it your own story. Drop your version in the comments or tag it on social media β€” every creative spin adds something new to this idea.

Leave a Reply

Your email address will not be published. Required fields are marked *

Table of Contents

Tarik

“Turning everyday moments into creative costume ideas. “

D.O.Gcer

Newsletter

Share Costume

Share your favorite costume moment, a behind-the-scenes photo, or your own design.

Let's get started

I value your feedback and am here to help! For questions, partnership inquiries, or any concerns, please reach out:

Copyright Β© 2025 D.O.Gcer